Month: October 2022

Starting the first section of my skateboard movie as well as additions to my skate part

first section of skate movie

Due to the cooler weather it has been increasingly hard to go out and get clips, while this sucks it does let me focus more on the editing process of the movie.

This week I really tried to understand how the text feature works in davinci resolve. Using YouTube and trial and error I was able to figure out how to make the writing glow in my own skate part. However while trying to do the scroll text following Remi in I got very frustrated and ended up taking so much time limiting my ability to finish more in the video. This is due to me not being able to find any sources to show me how to do this. Eventually after messing around with so many different functions and searching up so many videos I found out all I had to do was crop the text and keyframe it, while I was relived I was also a little upset that it was this easy of a task. Due to this and other factors this has been the hardest week to continue my free inquiry project, but that is alright as now we are past it and can focus on what’s next.

As for my plan going forward, I have a few things I want to accomplish within the next two-ish weeks. I am hopping to get close to finishing my introduction, I have gotten a few more clips I can use to finish it up. As well as get a few more clips for my own street part, including an ender. Lastly I want to rather continue Remi’s part or start another section of the video depending on how I’m feeling.

Ender: An ender in skateboarding refers to the last trick in a skate part, This is usually one of or the best trick in the video.
My street part

Stop motion

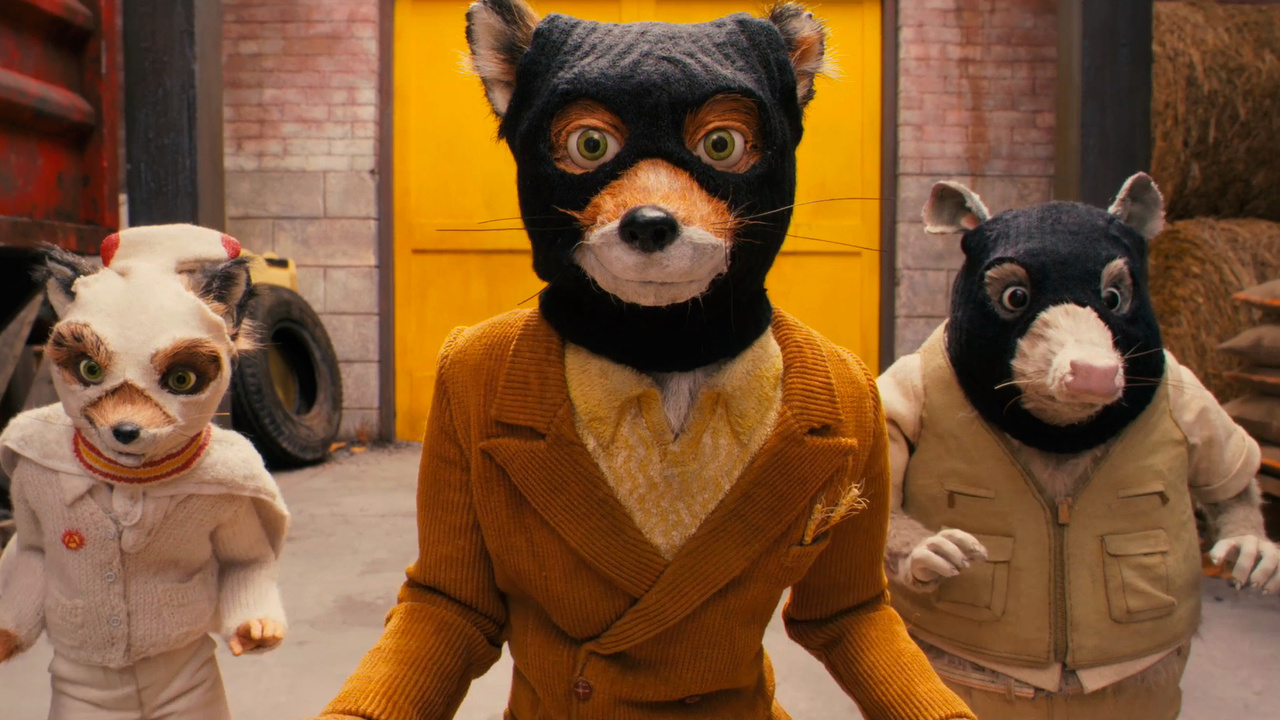
There are so many different versions of stop motion, such as puppets, Lego, cut outs, but my favorite is Claymation. One of my favorite movies of all time “Fantastic Mr. fox” is made with Claymation. This movies is one of the funniest most heartwarming movies I have ever watched, ever since watching it for the first time about 2 years ago I’ve recommended it to all my friends. This movie also includes my favorite scenes of all time, I don’t really know why its is but every time I watch the movie and this scene comes up it just makes me feel so good.

My favorite scene

The story follows Mr. fox and his family moving into their new home, a big tree near three farmers. This is very dangerous for his family as the farmers want to get rid of the foxes. Mr fox goes on missions to steal poultry and eggs from these farmers, making the farmers team up to get rid of the animals. This results in a big battle of wits trying to figure out how get rid of each other.

“You Are, Without A Doubt, The Five And A Half Most Wonderful Wild Animals I’ve Ever Met In My Life.”

Mr. fox

Too create a large stop motion project in a classroom it would be idea to have access to iPad and a stop motion interface such as zing studio. I believe the most effective way to make a stop motion with kids is with Lego. This is because lots of kids have Lego giving them the ability to bring in objects and sets from home. As well as the very easy ability to create sets and endless possibilities of what the characters of the story may be doing. Lego characters are also able to hold objects, stand up on their own, and move with some flexibility. There are also so many resources online on how to make Lego films as this is a very popular hobbies for many people. This creates a limitless amount of opportunities for students.

Too finish this blog post off I will add the stop motion me and my group made in class with LEGOS.

Weekly Reflection: Graphic design

Created using canva

Graphic design is something I am planning to use in my classroom a lot. The way I view my self using it the most in my classroom is in classroom design and worksheet creating.

I want to fill my classroom with lots, and a good way to do this is creating things with Canva. creating things to hang up in the room will be very easy to do using Canva, giving my room character and hopefully creating a space where students want to be and feel comfortable in.

The other time I plan to use Canva is in worksheet creation. whenever I am making a sheet I plan to hand out to my students I would like to make them feel special so the students can enjoy them more. I will do this by adding a little bit of “pizzazz” using Canva or similar platforms. I find these little things important as I believe it makes students want to participate more when they see there teacher putting their passion into every part of their practice.

I find Canva an extremely easy to use platform that is organized and has an extremely nice layout. Whenever I had an idea it was very easy to find where to find the tools to execute my ideas. Even when not paying for the full version their are so many tools and templates you are able to use that someone without much graphic design experience like me has so much to learn and work with.

The Filming process for a skateboard movie

While I continue To get more clips of my friends skateboarding I decided I would spend this week explaining how I film and the materials I use. I would argue this is the most important step in a skateboard movie as it will not look good with bad filming. As well as adding diversity within your clips, if every trick in a skate part was filmed the exact same way the video would began to feel very repetitive.

Each type of camera has its importance and when they should be used, there are two very important factors when deciding which camera I decide to use and these are Lighting and what trick is being preformed.

iPhone 13 Camera

mini edit I made for fun, shot on iPhone

The basic iPhone camera is the most versatile camera that I have, this is due to the ability to zoom far out at 0.5 but as well to zoom far in. The iPhone camera is very good it any lighting giving it the ability to be used at any moment. I would say that this is the only instance the trick doesn’t matter as the iPhone camera is my “default” camera, as my other two cameras have very specific needs to be met before using them is viable.

The iPhone camera is great for long lense videos (shown above), follow cams (where I would follow behind on my skateboard filming), and still shots with different zooms. (shown below)

still shot video

Death lens fisheye

Filmed with death lens

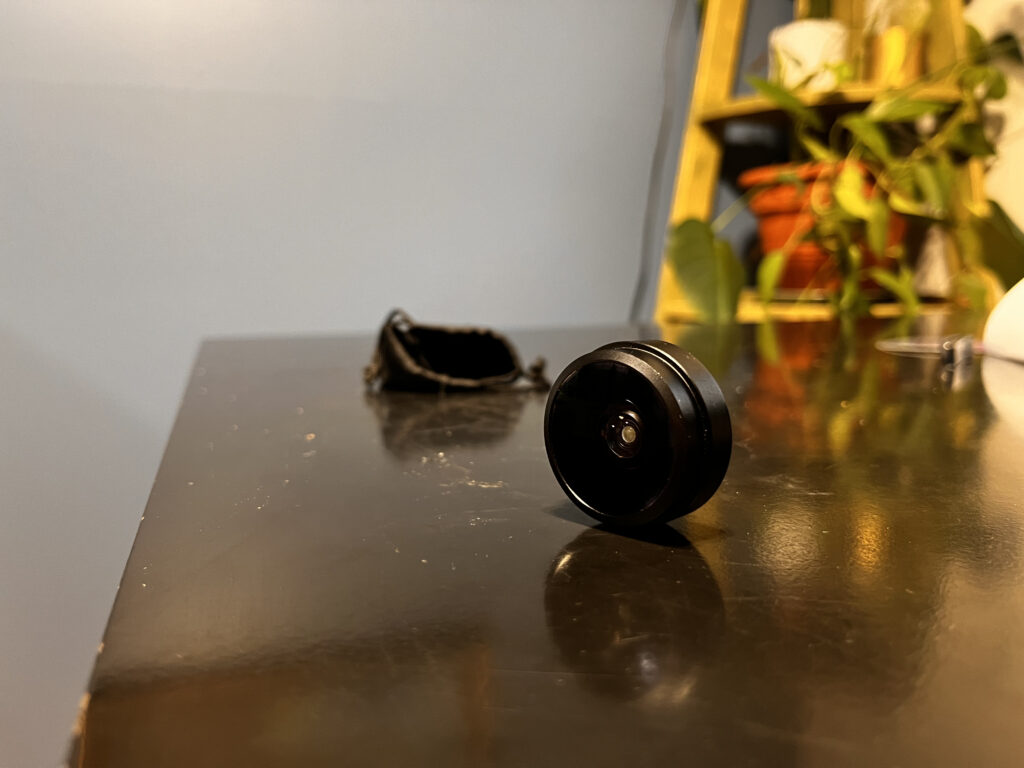
This is not its own camera but an attachment you can place over your Iphone camera giving it a fisheye. The fisheye is very good with most lighting and can be used effectively in the day and night. However, the trick you are filming is very important when deciding to use the fisheye. When having a fisheye you are unable to zoom so tricks where you are able to get really close with are the best option. This means the fisheye is not the best option for lines and long tricks such as manuals. What the fisheye does great on is getting really close to the skateboard, this means the fisheye is best used when someone is doing a gap, grind, or slide.

One thing you may notice if you watch a lot of fisheye videos is that they are always filmed pretty close to the ground. This is because the further you are away from the skateboard the less effect the fisheye has, making high up shots with a fisheye look strange.

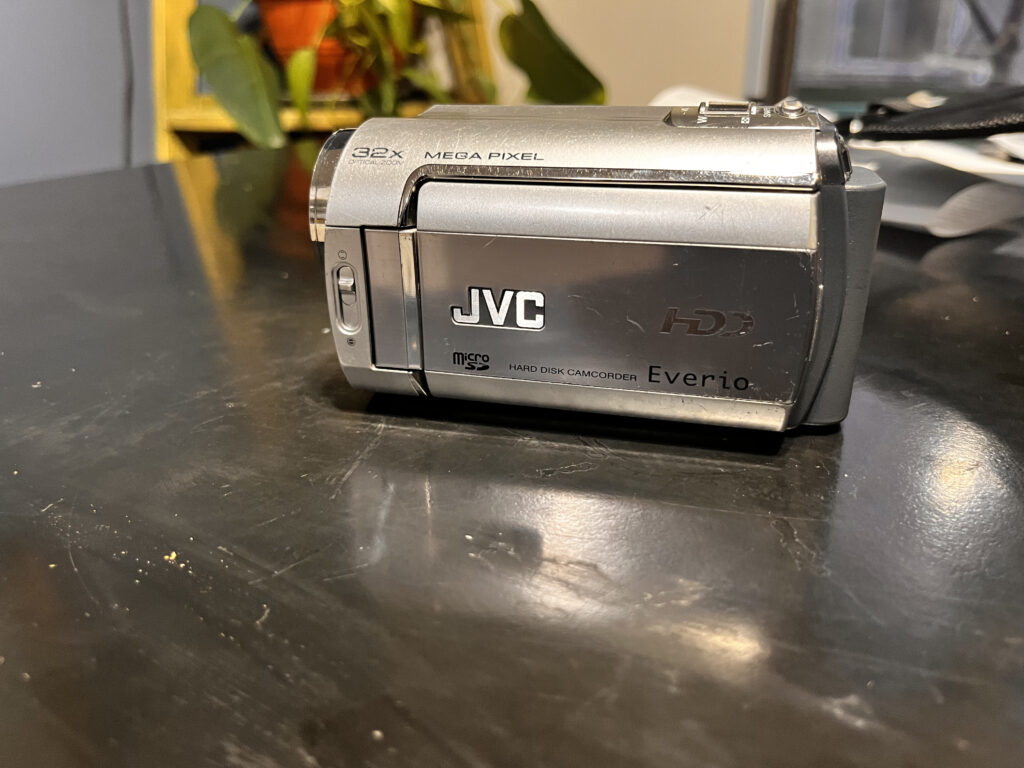
JVC Hard Disk Camcorder

My last camera I use is this old handheld camera I “stole” from my parents. This is my favorite camera to use but also the hardest. This is because the lighting really matters, if its at all dark this camera will not be able to pick up anything. This camera has very very good zoom in abilities and is best used in long shots. However the lowest it can zoom in is still very zoomed in meaning this camera cannot be used in shots near the skateboarder.

This is also my favorite camera to film b-roll on as the zoom in is so good and has a grainy filter making the clips look cool.

This is one of my favorite b-roll clips, shows the zoom in ability of this camera.

The Editing Process

Time Lapse of editing process. (P.S screen capture only went for 30 minutes and I did not realize it automatically ended so lots missing from this to the “final”)

For this week I wanted to try and start creating an idea of an intro for the skate movie I am hopping to eventually create once I have Recorded enough clips of my friends skateboarding. I Plan to make this edit at least thirty minutes and will include multiple cinematic shots like this and b-Roll clips that are very hard to get.

Prior to editing the most important and hardest parts are taking place which is getting the clips to use and finding a song that fits what you are going for. Afterwards I would say editing is mostly trial and error until you get the video you were hopping for. You can see this play out a lot in the video of me editing compared to the “final” project.

The tools I tried to learn and improve on this time were: Key Frames (frames that you select to have a start point and will eventually connect to an endpoint to create some sort of movement), zoom in and out with key frames, colour correction, and colour correction utilizing key frames.

When watching the editing process you will see many clips and ideas that didn’t end up in the “final” project. This is due to me watching the entire video after editing and picking out things I don’t like or require a small amount of change. In this video I added a few clips that had quite a lot of colour, after watching the entire video I realized that these clips do not match the vibe I was going for so I would take them out entirely or change them to better suit what I am looking for.

A lot of this video comes from the inspiration of my favorite skate movie of all time called Mindfield by Alien Workshop. This video and especially the intro is where my passion for wanting to create this movie began.

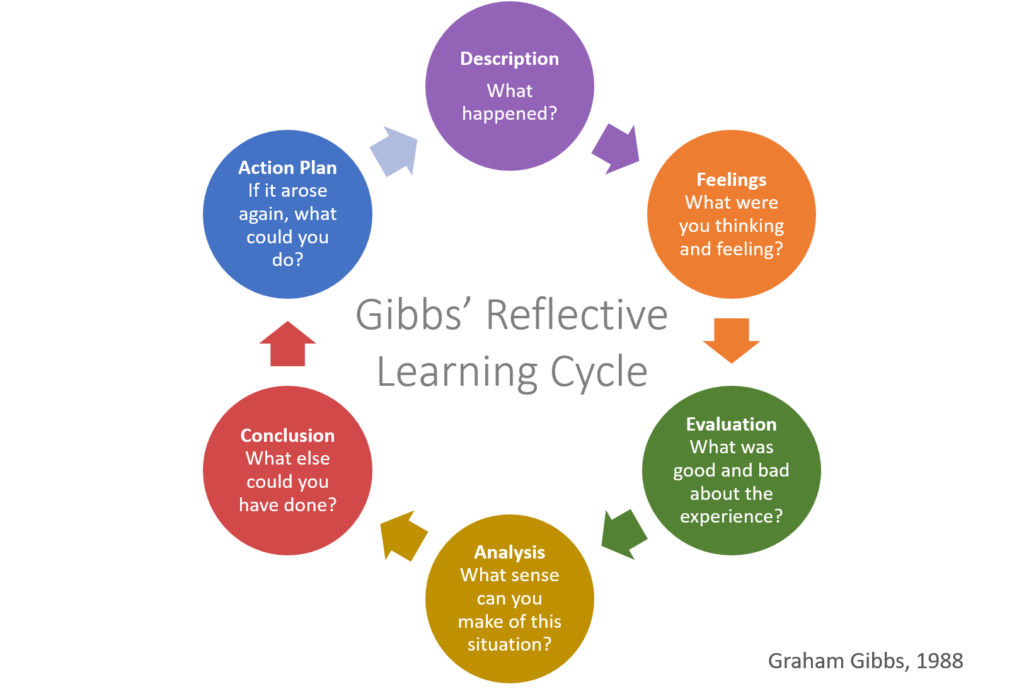
Reflection #4: Gibb’s Reflective Learning Cycle In-Situ

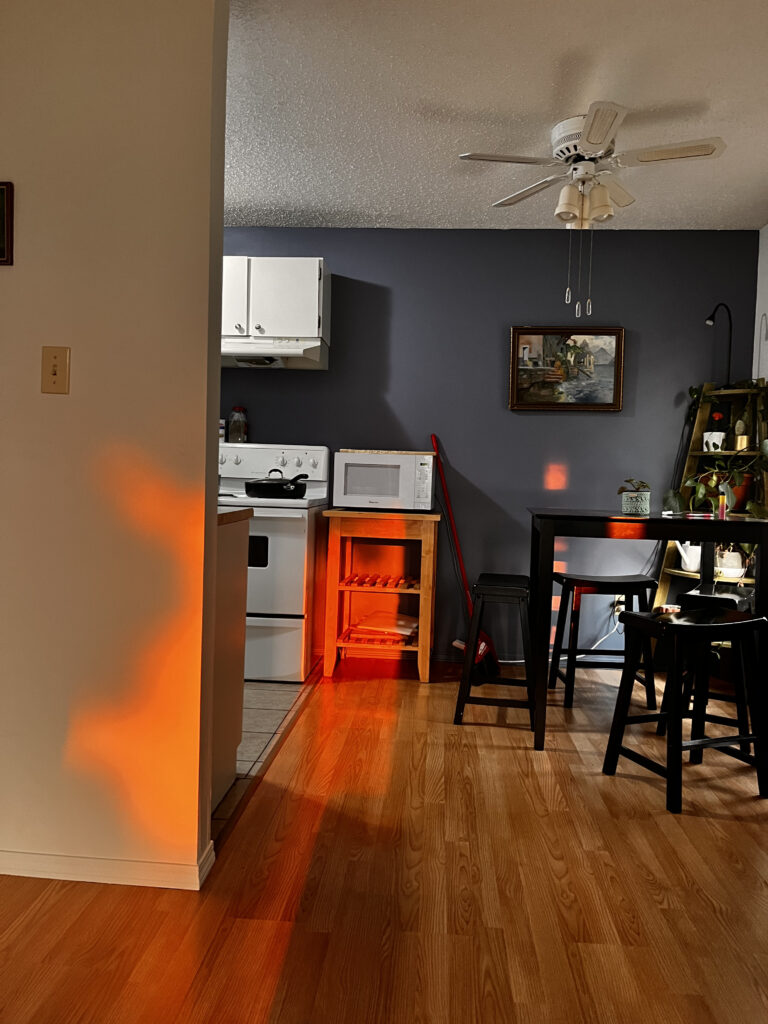
Photo by me

Discription:

For my first tech In Situ we went to Gordon terrace and had a conversation with the principle in their maker room. Afterwards we went to two different classrooms and got setup on epic books. My group was with two boys and we/I read them two books called “I Can Find It: A Rainey Day” and “Curious George“.

https://www.getepic.com/app

Feelings:

I very much enjoyed Reading and talking with these students and felt quite happy and excited throughout the in-situ.

Evaluation

Good: Me and the students connected pretty well and read the first book with ease, afterwards we did the quiz and aced it and the kids seemed to enjoy it. The first book also asked questions to find stuff creating more engagement throughout it.

Bad: Once the students realized you could touch the scree and flip pages they would continually flip the pages while in the middle of the second book. This was hard as I didn’t know how to control them and make them stop and stay on task.

Analysis:

Since the students were in grade 1/2 I understand that their attention span is not too long. Reading two books can be hard for them as they may loose interest quickly, too combat this I would add something else in between books to create more interest within the second book as its “something new”.

Conclusion:

I could have tried to find a book more specific to their interests, when choosing a book they just pointed at a random one but since they didn’t really know what it was about it may not have captured their interests enough to stay engaged.

Action Plan:

If I were able to redo this experience I would probably have put more of an emphasis on the badges you earn after reading a book. This is due to my classmates explaining there students found this very exciting and created more engagement in their group.

Why street skateboarding is important

Photo by me of Reese doing a nose manual Bs 180

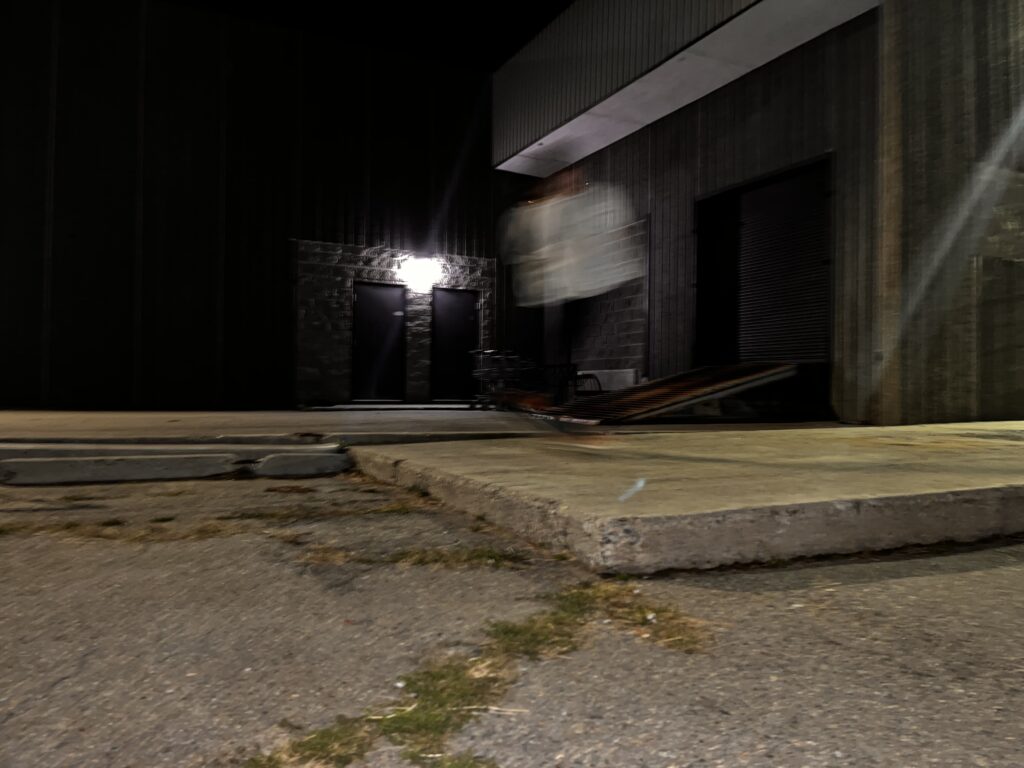
At the moment I am trying to film for my friends sponsor me tape and do not have enough clips to make an edit. Instead I tried to take photos but found out that an iPhone camera reacts very badly with the movement of skateboarding. due to this I felt very uninspired to take more photos throughout the week. Instead I decided to write this weeks inquiry on the reason street skateboarding is important and a few “rules” that come with it.

Street skateboarding originated after the massive success of pool and vert skateboarding in California. Since most people did not have access to drained pools or large vert ramps skateboarders started taking their skills to the streets. During this time some classic skate videos came out of people just skating street spots Inspiring more people to begin street skating.

Throughout the years skateparks like we see them today started getting built, however most skateboarders only viewed this as a practice ground. This is due to skaters viewing street spots as a way to show creativity within your tricks, a skatepark is built with the intention and design to be skated, while a street spot is created with out this intention. Meaning that a skater requires creativity to find different spots and new tricks. This can be related to rock climbing, while climbing in a gym is cool and can help improve your skills climbing a mountain is a very different task that takes lots of thought and ideas to complete.

If you search up on YouTube “Thrasher Magazine” you will see how everyone’s skate parts includes no skateparks and only street spots. However even though skateboarders are excepted to make their parts with street clips their are a few “rules”. The first being NBD’s and ABD’s standing for never been done and already been done. If a skateboarder has done a trick on a spot for the first time ever this is called an NBD, If someone else then goes to that spot, does the same trick and puts it in their skate part this is seen as copying and “uncool”. The second unwritten rule is “illegal tricks”, these are tricks that the skateboard community have pushed out of the mainstream due to the perception that they look very bad.

Weekly Reflection #3

Started making this street part for myself but I do not have enough clips to finish the rest of it so far.

When I’m making a video usually the first ting I do is find a song I would like to choose. This is usually the most annoying part as it usually takes a while to find the song I want to use. After that I make sure all my clips are on my computer so I don’t have to go back and find them in the middle of editing my video.

During the time of editing the video I usually just put a random clip in, I will then listen to if it matches with the music. If it does then I may just leave it but if it doesn’t I will edit the length of the clip until it matches with the music. This is the point where I may add slow motion to a clip if I believe it may add to it.

Once I have matched all the videos to the music I will mess around with filters and colour correction. In this video I only changed the colour of three clips. In the first I only added a black and white filter until the trick “starts”, in the second I added a black and white and vintage looking filter, and in the last I made the colours very bright and placed it as an overlay of another clip to get a cool effect.

Skateboarding video and using new editing software

Video I made

Over the past two weeks I have been filming a bit more of my friends to hopefully get enough clips to make an edit. I was able to do this and made this video which I called believe, which to be honest just came because the person in the song says it.

I have made multiple videos of myself using editing software on my phone but this time I decided to try DeVinci Resolve, a free editing software online that is used in many professionals settings. While this change was hard to figure out with some help from YouTube and google I was able to try many new effects such as the overlay clips that the video starts with, placing text overtop of video, and messing with slow motion after taking the video. I was inspired to try these new strategies after watching a few skateboard videos through the week which I will link below.

I very much liked using this new software and I plan to continue to use it for the rest of this project and any other video I make for personal use. There are still a lot more ideas that I have and will try to learn within this editing software.

regarding the shooting of the videos I tried to take all the videos in landscape as this is the normal way of shooting in the skateboard industry. I Liked this a lot more then the common vertical filming I normally do as you can see more dead space and more of the area is filled with action.

For my next video I create I want to include more B-roll clip which is random videos of non skating in between clips. I also want to mess around with more filters overlay to create a different felling video to this.

Kevin Franks new video “suuure.”, local Fernie skateboarder who I took some inspiration from.
Louie Lopez’s new video “Louie, again & again”, Louie is my favorite skateboarder and he recently released this giving me some ideas for this and future projects.

Weekly Reflection #2

Photo taken by Me 🙂

While searching my digital footprint I was able to find out that I have a very small public presence on the internet. I also found out that there are many people with the same name as me.

I was only able to find my Facebook page while searching my name up and even after finding that my profile is private so not very much shows up. I was unable to find any other of my accounts on google while searching my name or even the usernames of my other accounts. However if you search my name on these separate platforms my accounts do show up, all these accounts are then private so very little information shows up. I am hoping to keep it like this as I would rather have a smaller public presence online.

This is a very big difference then searching my name 3-6 years ago which we had to do in class during high school, I remember photos of my self showing up. Although these photos were usually not from my social media but other forms of media such as the local newspaper, posters, etc.

© 2025

Theme by Anders NorenUp ↑